So after weeks of deciding whether to keep my closed toe, but quite out of fashion not to my liking pairs of heels or to sell it on ebay for 2 bucks, a crazy thought flashed across my mind and I set to work immediately!
Ladies and gentlemen, the first series of post on DIY remake of pre-loved items.
And today, I present shoes.

Blah, old school and simply something not I would wear frequently, so what flashed across my mind and set me excitedly to work? Peep toe! A design that I find real sexy when worn!
After this project, I am having some serious desire to attend some shoe making course but alas, its such a unknown education market here. Fashion design course, graphic design course, aplenty! Everywhere! But shoe making course, donde estas? Besides loving to have summer breeze cradle my face, a vision of me bent cutting materials, hammering, glueing, stitching to create that delicious pair of final product feels like bliss. Browsing pictures of heels created is quite orgasmic, for lack of better words. And enough of random talk, let’s see what my DIY remake of these shoes became of! Oh I wish I wish, I had the right equipment to create heels,heels,heels.
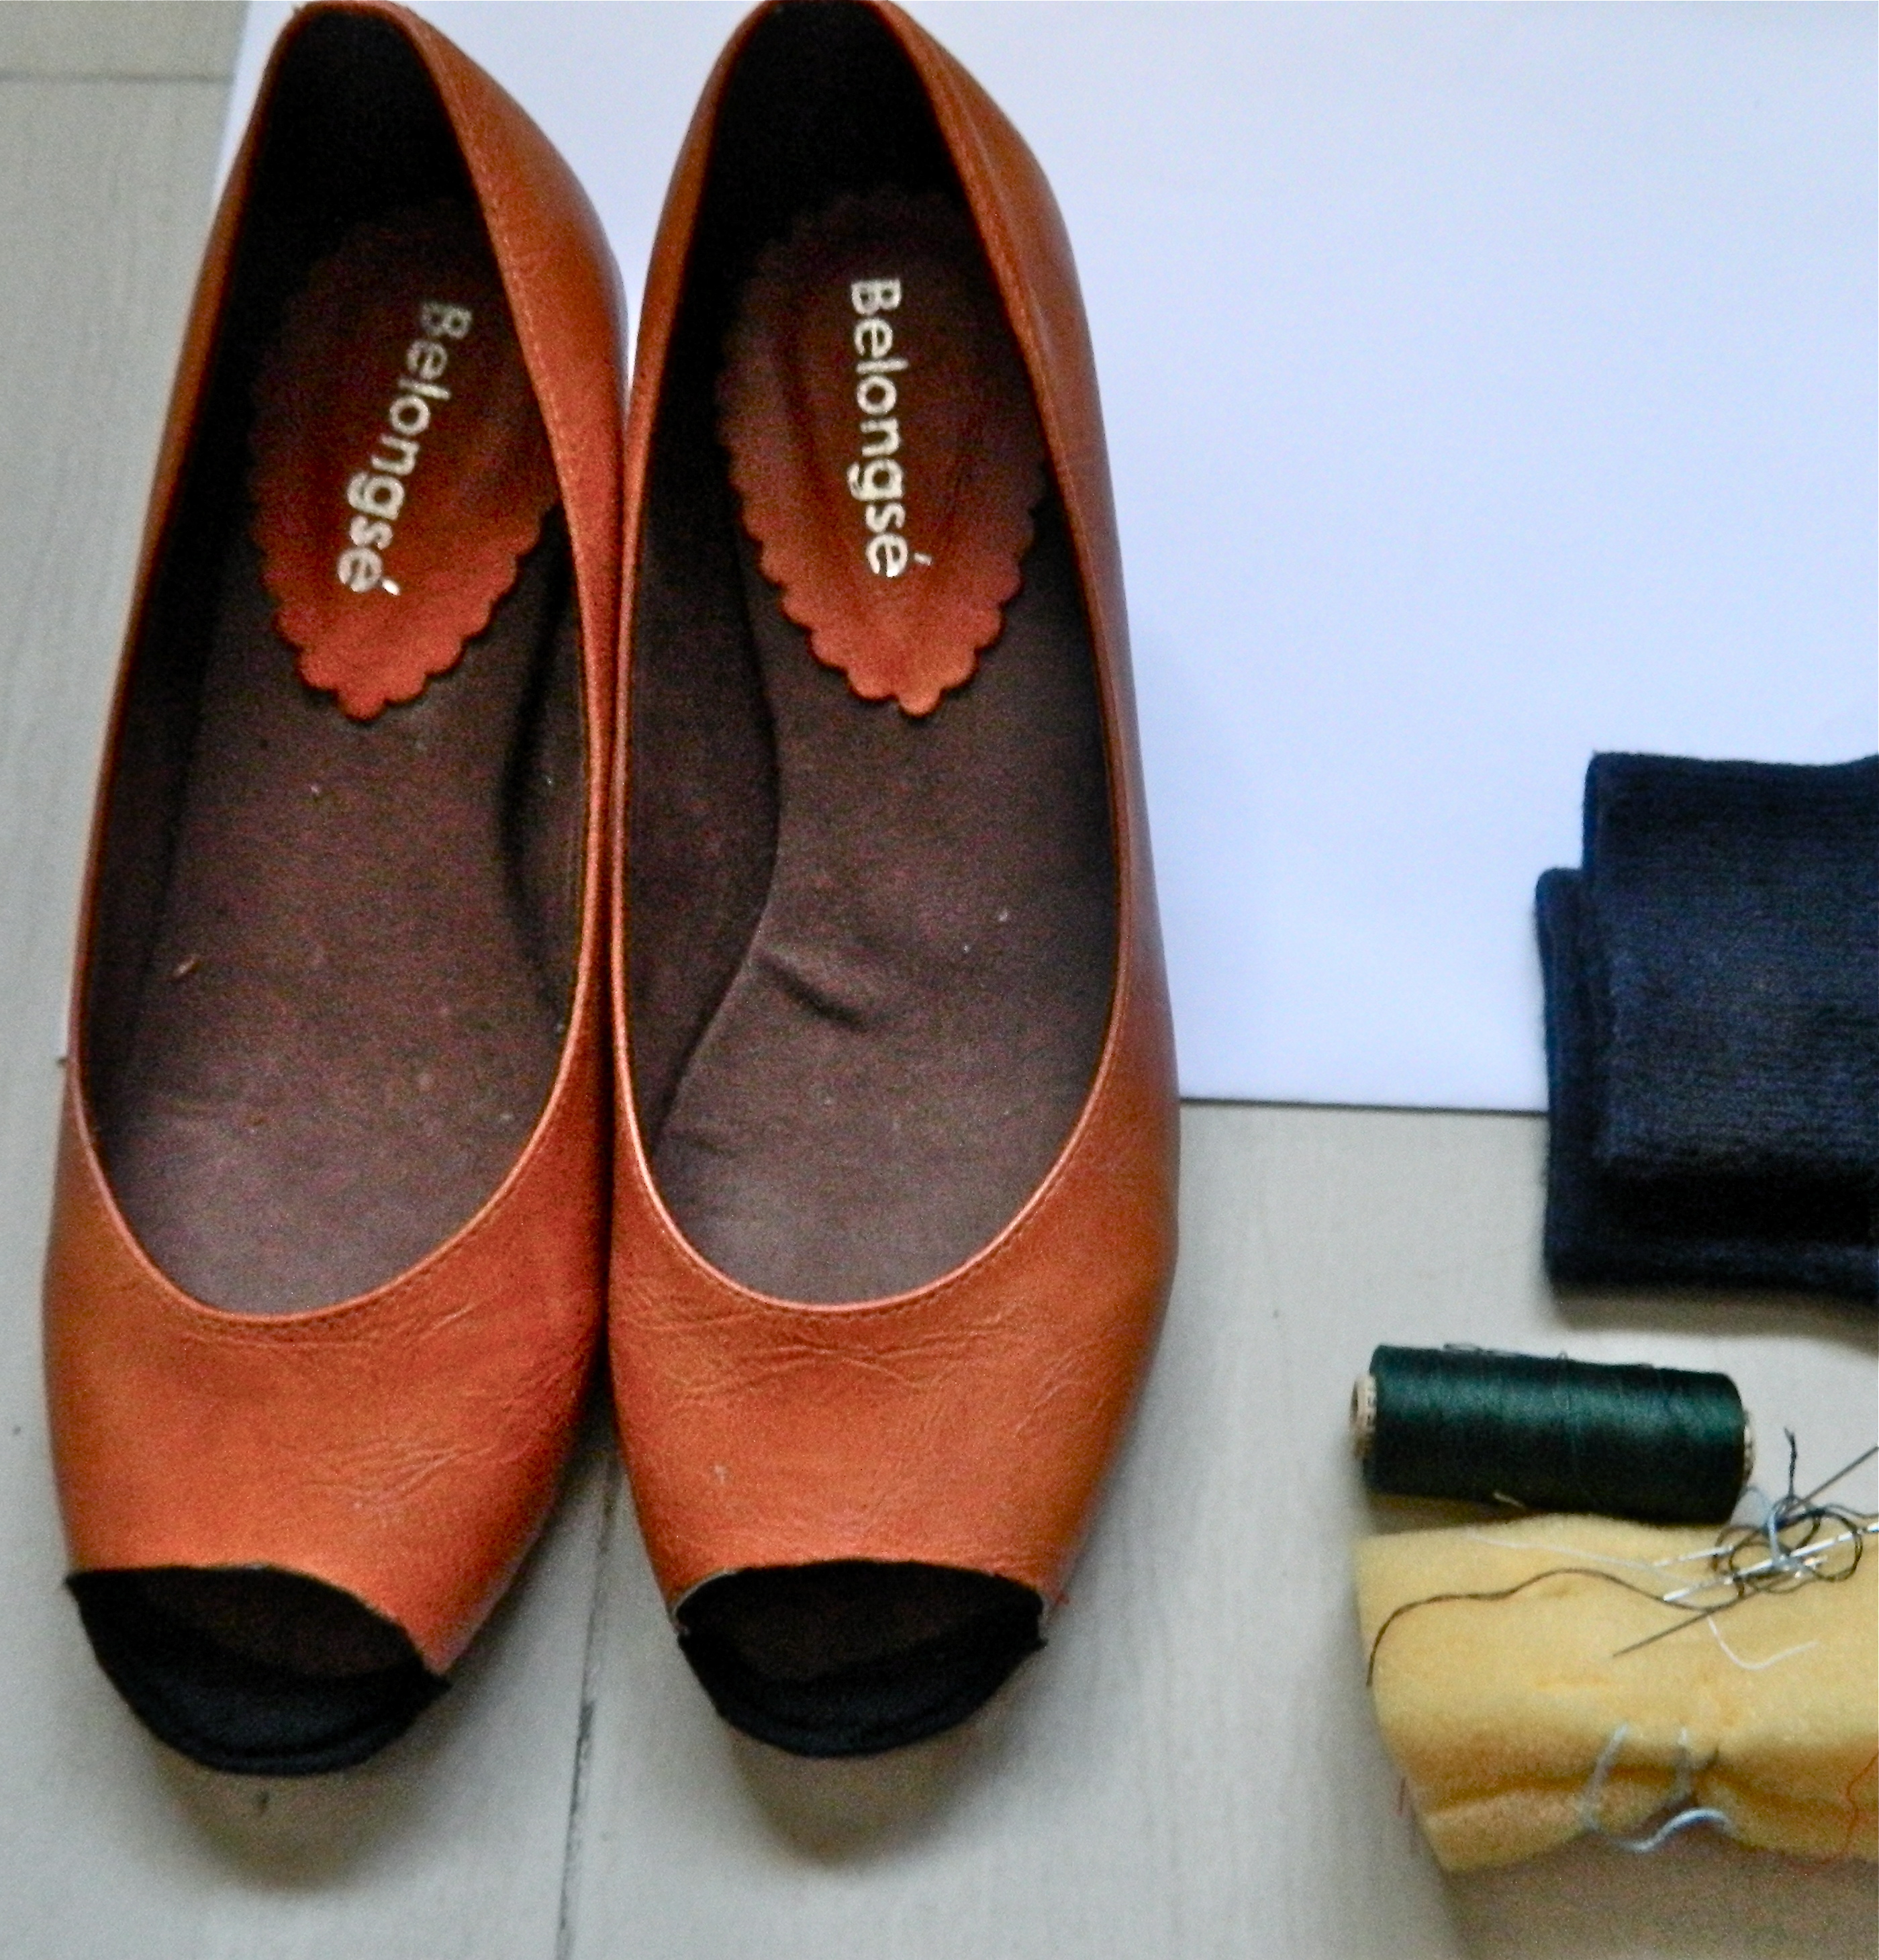
Equipment I used:
1) Heels (Closed) that you bear to tear apart
2) Pair of sturdy scissors (Large one preferably)
3) Pair of sharp scissors to trim edges (I ended up using 5 different pairs of scissors)
4) Black cloth (or any cloth you like)
5) Needles and Thread
6) Glue
7) Marker (I used the crayon looking mark maker meant for clothes)
Method:
1) Trace a semi circle from the front of your heels (Depending on your liking of how deep you want it to be)
2) Punch a hole and start cutting along the lines with the larger sturdy pair of scissors ( Due to lack of right equipment, I pierced the top skin with my scissors and started butchering it/cutting it along the lines. I am sure they have scissors meant for leather cutting)
3) Trim the rough edges out with the smaller sharp pair of scissors

(Step 1-3)
4) Cut out a piece of cloth ( Size that could approximately cover the exposed area)
5) Thread a similar cloth colored through the needle and sew the cloth to cover the exposed area (Again, in the right shoe making steps, you would be relaying the whole sole again, and use another bottom sole and hammer the whole thing down. But this is DIY remake right, so whatever goes! or whatever I have on hand)
6) After sewing it up, trim along the unwanted cloth area if necessary.
7) Ta-da! Your new peep hole heels!
(Step 4-6)
Optional steps
– Thanks to Michelle Phan tutorial on expanding front of heels with ice packs, if needed, expand your heels using her method 🙂 Works for me everytime.
Now, I am excited to wear these out!
